

If you have come to this article, you’ve likely done a lot of hard work creating a video for your tradeshow booth. You’re likely at the same point that many of my clients have arrived at :
“How do I put my video or videos on a loop and have them run at my booth without a thousand headaches and a ton of expense?”
Of course, there are many options here that are going to get this job done, but I would like to give you three good ones here with some steps to remove some of those headaches.
The three best options :
- Using nothing but a Smart LED TV from Best Buy
- Using your iPAD
- Using a tv, monitor or projector with your laptop
Part 1 – Using a Smart TV
I like this option the best because the screen is big and sharp and you only need one piece of equipment. You will need to find a tv that has a usb input and can play videos this way. You also want the tv to have a repeat option so it will just loop your video over and over all day long without you doing a thing.
Step 1 – Get a tv that can do this job for you, and test it before you go to the darn show.
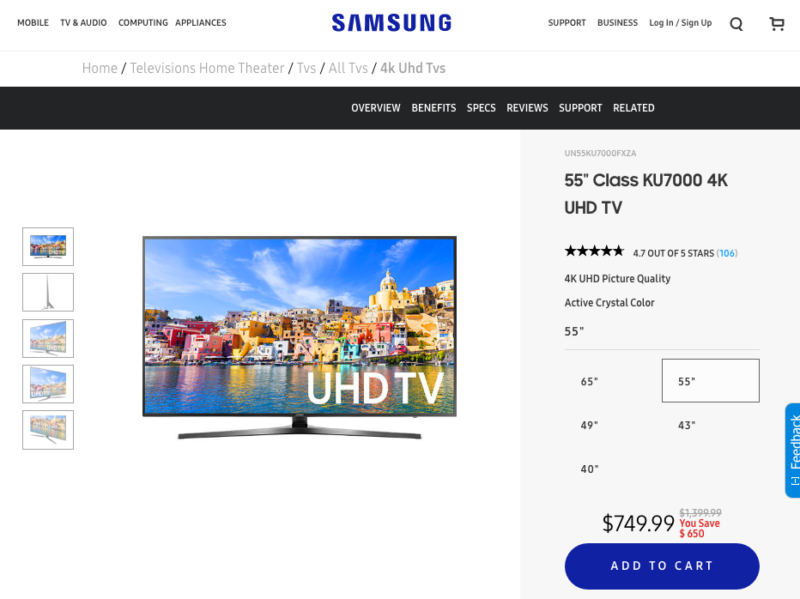
Here is an example of a TV you could pick up at any best buy and it will do this job for you :
Click on the image and you can head right over and buy one
If you’re not getting this exact tv or you are using one you already have, get the manual or look up the manual online and check what types of video files the thing can play.
Step 2 – Find out what type of video file you need.
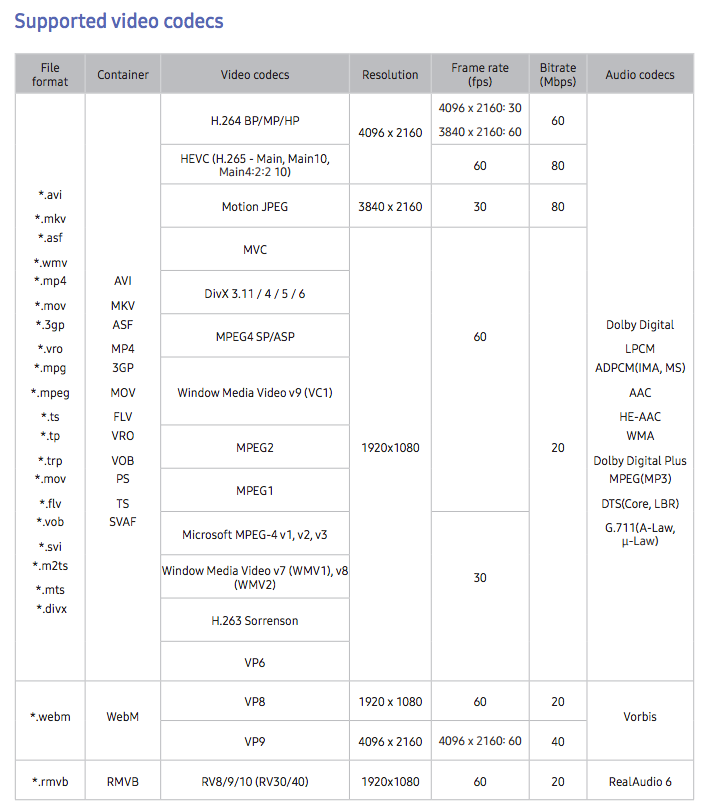
There are all kinds of video files, you don’t need to know them all, just know that there will be a list in the manual telling you what types your tv can accept, but I guarantee if you have a mp4 file that plays on your macintosh, it will probably work on the tv. But check the list or send the list to your video geek or the nearest millennial and they will handle it for you.
Here is what that list looks like for our Samsung tv we picked out if you’re interested, but really just tell your millennial you want a .mp4 file with h264 codec and you’ll be golden.
Also if you’re serious about how the video appears, make sure it is High Definition. 720p HD is ok, 1080p is what you really want. It’s what Dancing With the Stars and Monday Night Football are broadcast in.
Step 3 – get your video file onto a USB stick.
Get a good USB thumbdrive, relax they are extremely affordable so get one that has plenty of space on it. they look like this :
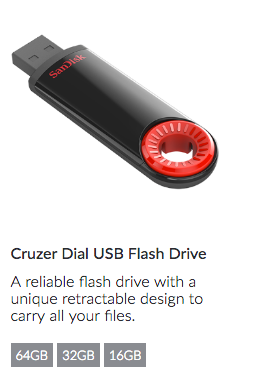
typical usb flash drive
Next, plug it into your computer and save your video file to it.
Simple eject it, and plug it into the back of the tv.
Step 4. Get the Video Playing on a Loop
Once you have the USB drive plugged in select source on your remote
Choose USB device from the menu
you will now see a My Content Menu which shows all the photos videos and music files on your USB drive
Choose the file you want to play and then click the repeat button to have it play over and over all day long.
One note, turn the tv off before yanking the drive out of the back so you don’t damage the files on the USB Drive.
Part 2 – Using your iPad
An iPad can be a good solution when space is at a premium or if you use them in conjunction with a cool kiosk stand like this one :

Here are the steps.
Generally, the hope here is that you are the kind of iPad user who actually syncs the ipad with your computer. Many people don’t do this anymore at all, but it’s not that big of a deal and it basically plugs into your mac and throws things from your computer onto the ipad, like music, photos, movies, etc.
If you’re not one of these people, email me and I’ll explain a pretty decent way to get your video on there without all this.
- Import the video footage into iPhoto on your computer.
- Put the movie(s) in its own album in iPhoto and call the album with an appropriate name that will be visible in the sideshow when it starts playing at the conference.
- Plug your iPad into your computer and sync your photos to it. Make sure that the new album is selected and the “Include videos” box is checked.
- Launch the Photos app on your iPad.
- Tap into the new album you’d like to use as the slideshow
- Tap on the video you’d like to start the slideshow on to open it.
- Tap on the Share button in the bottom left hand corner (up arrow icon).
- Tap on Slideshow in the share menu.
- For iOS 9 and maybe iOS 8 tap the video and click Options. On iOS 7 it’s in the device Settings > Photos and Camera > Slideshow > Repeat.
- Turn Repeat to On
- Set Music to None
- Set Theme to Push
- Now when you play your album as a slideshow it will loop forever – remember to bring your power cord.
Part 3 – Using your Laptop
This is a bit “old school” but it works.
If you are using a mac laptop
- Plug it into the monitor, projector, or tv you plan to use via HDMI.
- Get the display in mirror mode so the external display shows exactly what you see on your screen.
- Open your video in Quicktime
- Click View Menu > Loop
- Click View Menu > fill screen
- Make sure your laptop isn’t set to go to sleep when idle and you’re done
If you are using a windows laptop, install QuickTime and then do the same thing as above
About the Author :
Jason Yana has 2 decades of experience in architectural technology, 3d graphics and construction marketing. This unique combination provides highly-effective visual representations of building products that fuel marketing and support efforts.
His award-winning body of work informs, inspires and educates building product customers.